Installing landscape lighting can seem tricky, but it breaks down into five clear steps that any DIY homeowner can follow. In short, you’ll
(1) plan and place your lights,
(2) connect each light to the low-voltage cable,
(3) bury the cable,
(4) install and power the transformer,
(5) test and adjust the system at night.
These five steps take you from laying out lights on the ground to seeing them glow beautifully after dark, turning your yard into a welcoming, well-lit outdoor space.
Step 1: Plan Your Layout and Place Fixtures
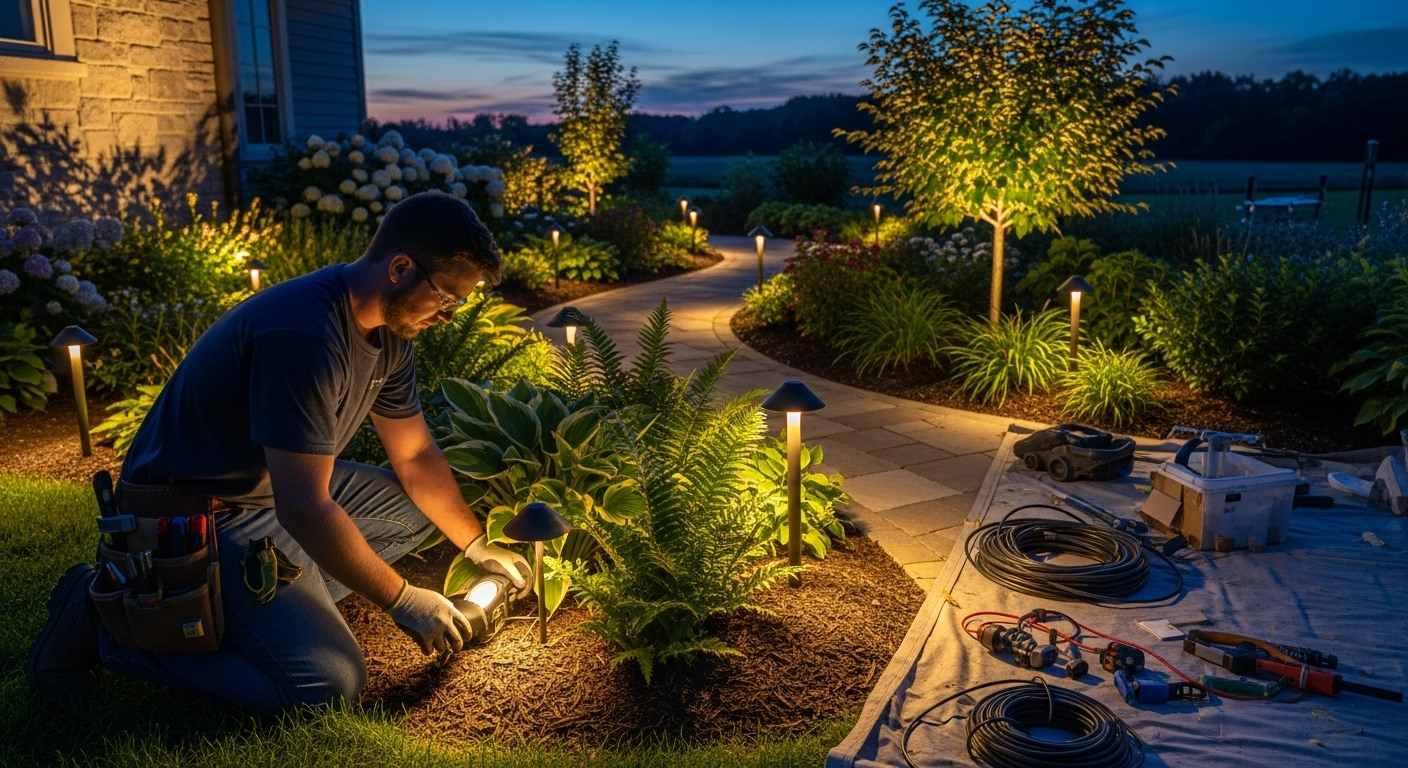
First, decide where you want each light. Think about walkways, garden features or steps you’d like to highlight. Assemble your lights by inserting bulbs and mounting stakes or bases, then lay them out on the ground in their rough positions. This lets you see the effect and spacing. For example, place path lights evenly along a sidewalk, and spotlights near trees or walls you want to brighten. As you place each fixture, mark the cable path with flags or spray paint, avoiding any sprinkler or underground lines. This planning ensures your lights will cover the yard the way you want before any digging or wiring begins.
Step 2: Connect Lights to Low-Voltage Cable
With your lights in place, it’s time to link them. Uncoil the main low-voltage cable (usually 12-gauge) along your marked paths, leaving extra slack near each fixture. One by one, attach each light’s wires to this cable. Most kits include waterproof connectors: open each connector, slip it over the main cable, and snap down to pierce the insulation. Insert the fixture’s wires into the connector, then close it — this clamps the wires together without cutting insulation. If you prefer a tighter seal, strip about ½ inch of each wire, twist or use butt connectors, and cover with waterproof tape. Tip: Leave about 1-2 feet of extra cable at each fixture so you can adjust the light’s position later if needed.
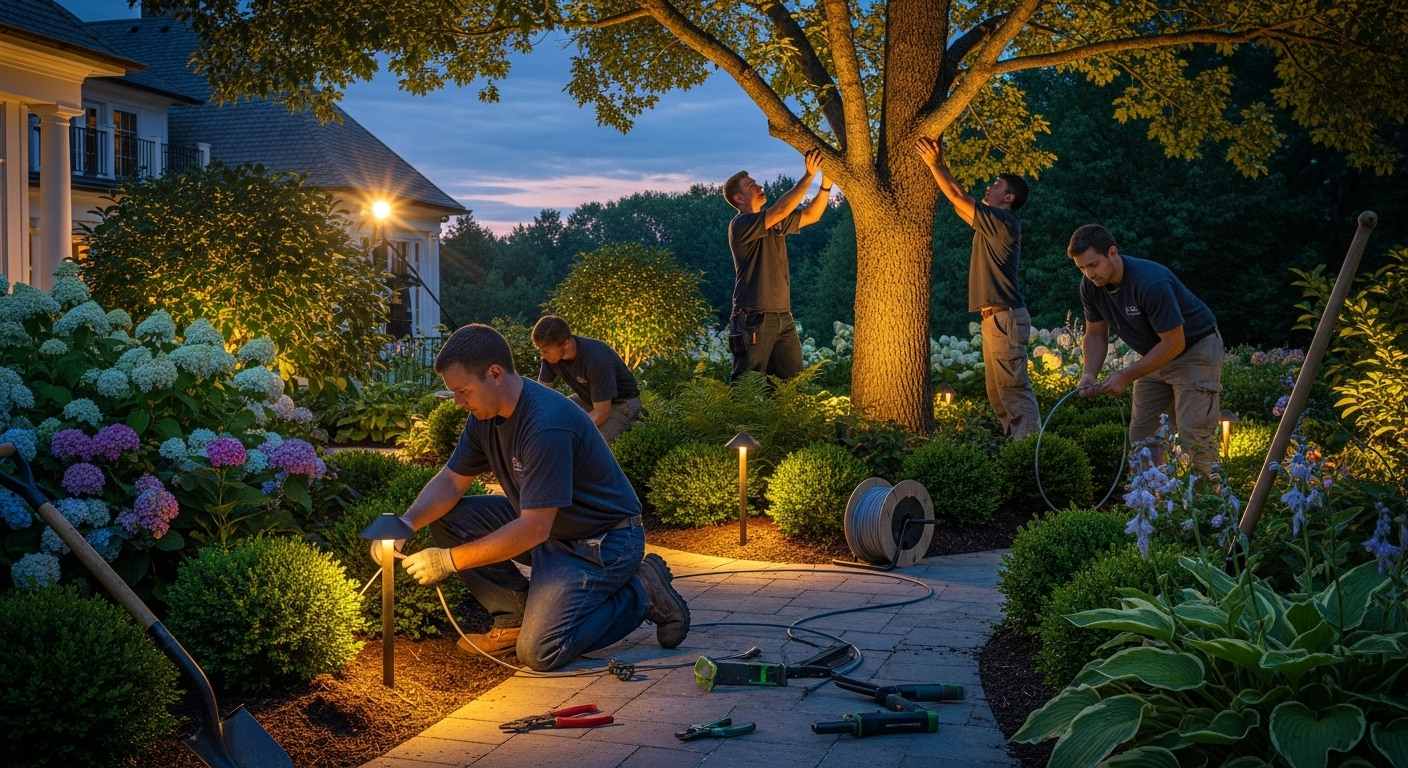
Step 3: Dig Trenches and Bury the Cable
Now that the lights are connected, bury the cable for safety and a tidy look. Dig a shallow trench (typically 3–6 inches deep) along the cable paths you marked. Use a spade or trenching tool to make a narrow channel. Gently lay the cable with its attached lights into the trench, keeping the slack loop at each fixture above ground or just covered — this extra loop gives flexibility if you need to move a light. Once the cable is in place, cover the trench with soil or mulch. Pat down the dirt so it’s even with the yard. The lights themselves (path stakes) stay above ground of course, but all wiring runs out of sight underground.
Step 4: Install the Transformer and Power Up
Next, set up the transformer (this steps the power down to safe 12 volts). Choose a dry, shaded spot near a weather-proof GFCI outlet on your house or garage. Mount the transformer on a wall or on a stake in the ground, following the instructions it came with. Then strip ¾ inch of insulation off the end of your main cable and attach each conductor (wire) to the transformer’s terminals (the common (COM) and one of the 12V taps). Make sure connections are tight. Important: Leave the transformer unplugged while wiring. After attaching the cable, plug the transformer into the GFCI outlet. Most transformers have a built-in timer or photocell; program it or set it so the lights turn on automatically at dusk and off at dawn.
Step 5: Test the System and Make Final Adjustments
With everything wired, it’s time to light up! Switch on the transformer and walk around your yard. Check that each light comes on. If a fixture is dark, check its connector or fuse. Wait until after dark and then fine-tune the lighting: tilt spotlights or move stakes so each light highlights the desired area without shining in eyes. Adjust angles to prevent glare. For example, aim path lights slightly toward the ground along the walkway, and tilt floodlights up toward trees or the side of the house. Once the lighting looks right, your 5-step installation is complete and your yard is beautifully illuminated.
By following these five steps – planning, connecting, burying cable, powering up, and testing – you’ve successfully added a touch of safety and style to your home. Enjoy your new landscape lighting, and remember: always work carefully and consult a professional if you’re using high-voltage components.
Read our newest blog entries for more helpful information today.